Time for part 2 in the series about DIY herbal condiments ~ yummy easy to make 'enhancements' to your meals ~ made with herbs and sure to add a bonus 'oomph' of nutritive goodness to your day! Missed part ONE? Click here.
Do you have herbs in your garden that you don't know what to do with? Dry them and make an impromptu herbal blend to use as a tasty 'rub' for meat or as a healthy seasoning for egg dishes or salad dressings, stews, sauces or casserole dishes.
One doesn't really need a recipe ~ try to keep the amount of each herb (e.g. 1 tablespoon or 1 cup) the same. I often dry whatever is left in the herb garden and then store a mixture in a large jar for use over the winter!
This first recipe, 'wild seasoning' is delicious anytime -- and if wild greens are not prolific now, it tastes great with the rosemary, combined with dill, oregano and your favourite sea vegetable. Use whatever you have in the garden, when possible. If foraging, respect the wild populations please, always.
ALSO.. If we have this in mind, maybe we will remember to think of picking and drying herbs all year 'round with the idea of making wild seasoning blends just like this one! Wild pickings can include violet leaves, lamb's quarter, garlic mustard, purslane, nettles, plantain, wild mints, cress, wood sorrel and so much more. Check out this post about herbs in our backyards and see if you have any wild friends waiting to party!
Learn what is available in your area. Harvest away from roads and hydro lines.
I promise to post some ideas here. I love adding wild food to my meals!
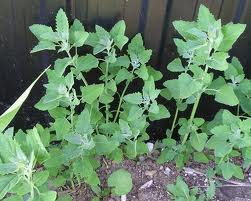
Lamb's Quarters or Goosefoot can be used in any dish calling for spinach!
EASY Wild Seasoning ~ make delicious DIY herbal condiments to enhance your meals!
This recipe is a guideline -- USE what you have!
WILD SEASONING
There's always some wild goodness growing nearby! Add the power of 'wild' into your meals with this easy condiment! (if you are not comfortable harvesting wild plant allies, leave them out this time but learn more about this-- I will teach you!)
Ingredients
- 1 part dried lamb's quarter leaves
- or violet leaves, garlic mustard leaves, etc
- 1 part dried rosemary
- 1 part dried dill
- 1 part dried oregano
- 1 part dried dulce or any available seaweed that is safe to eat
Instructions
-
Gently toast the dulce in a skillet until very crisp.
-
Chop finely or grind the lamb’s quarters and herbs in a mini spice grinder (coffee grinders work fine too)
-
Put the dulce through the grinder too and then combine with herbs.
Recipe Notes
Store in a cool dark cupboard. Make sure that a small amount makes it into a container and is on your table or at lead on the kitchen counter so you'll remember to use it!
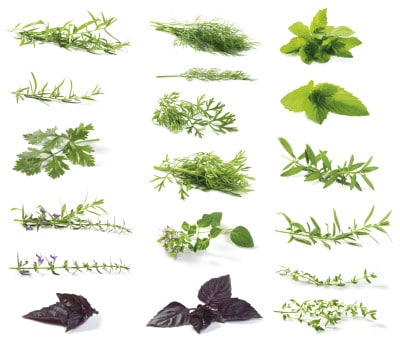
Note: The same ingredients above -- or in fact ANY herbs at all, can be made into an "Herbal Salt"
Here's what to do.. By the way.. this is a perfect way to avoid wasting those gorgeous herbs, still green in the garden, just before frost! This is so easy and makes a super gift!
HERBAL 'Salt' can make a wide variety of wonderful DIY herbal condiments ~ What is growing in your garden? Harvest now and start drying the plants or purchase from your local farmer, market or grocery while all is in season and dry these to make DIY lovelies for your friends and family too!
Herbal Salt
Ingredients
- ⅓ cup fresh herbs basil, rosemary, dill, oregano etc
- 1 cup of good quality Sea Salt either coarse or regular
Instructions
-
Chop the herb (s) finely.
-
Put the herbs and the salt into a large bowl.
-
Using an immersion blender, pulse the ingredients, until mixed.
-
Use a spatula to remove the trapped salt/herb from the blade of the blender.
-
Spread the finished product on a cookie sheet or similar lined with parchment paper.
-
Allow to dry overnight or for about 24 hours if possible to ensure that it's dry.
-
Place in small canning jars and store in cool dark cupboard.
Recipe Notes
People LOVE to receive these 'gourmet' salts. I use them at the very end of preparation of meals, as a quick sprinkle of flavour enhancement!!
Turmeric is 'all the rage' these days.. Click here for another tasty condiment,
made with turmeric and another of my favourite ingredients!
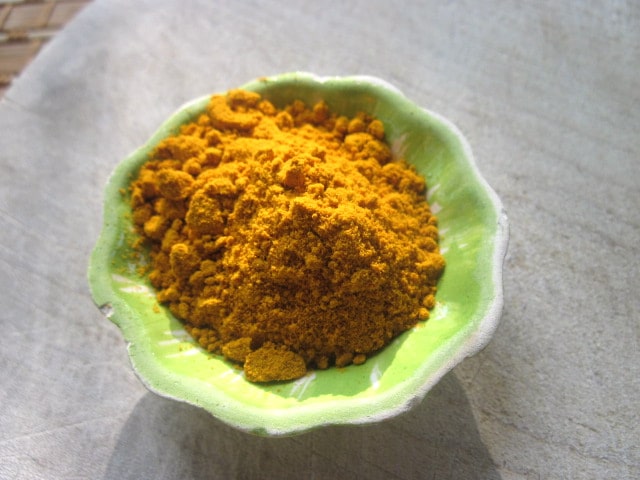
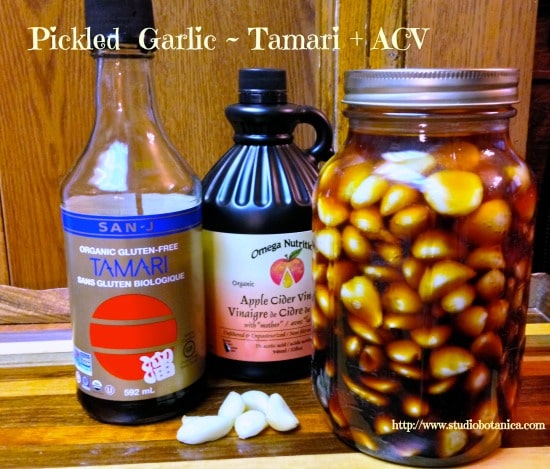
I've shared this next recipe before.. but it's a ritual every year in my home! It's 20 years ago, up at Sage Mountain, in Vermont, where Rosemary Gladstar, my favourite 'wood sprite' and herbal inspiration ~ taught me 3 ways to pickle garlic!
Make this now ~ PICKLED GARLIC ~ can help to ward off colds + flu all year long!
Pickled Garlic ~ plan ahead!
I honestly can’t tell you which I prefer, because I enjoy each, but will include all here. Make them both and YOU decide!
They will be either salty-sweet or tart-sweet. The degree of sweetness can also be adjusted, so as with many adventures with herbs, the recipes are more of a guide than a recipe. Use your imagination!
- garlic bulbs, amount will vary
- tamari OR apple cider vinegar
- honey (raw + local preferable)
- glass jar (I tend to use a glass canning jar with a good lid)
Peel several heads of garlic. Try not to nick the cloves, as this will make them turn black or brown. (This doesn’t affect the result or the taste, but cloves in their original color look more appetizing.) Place the cloves in a glass jar. Choose the size of jar carefully; the idea is to have the garlic cloves piled in the jar and topped with liquid so that there’s not a lot of air space.
Cover the garlic cloves with tamari or apple cider vinegar* and allow to steep in a warm area (ideally a warm cupboard) for 4-8 weeks. Sometimes air bubbles will form, but this is a part of the process. Ensure that the cloves are always covered with liquid.
After 4 – 8 weeks, strain the liquid into a bowl or another jar. Pour ½ to 1 cup of the liquid into a measuring cup. Add an equal amount of honey. Mix together and pour the sweetened mixture back into the original jar, over the garlic cloves.
The remaining unused portion of the liquid makes a delicious addition to sauces, stews, salad dressings.
Put a tight-fitting lid onto the jar with the garlic and allow to sit another 4 -8 weeks.
The result yields a tasty, raw garlic condiment with all of the power of garlic’s goodness. It can be taken daily as a preventative or used with salads or many main dish meals.
*Use tamari, apple cider vinegar, or both! If time permits, I like to make all three. If not?
I make the version with both tamari and apple cider vinegar.
Tamari is a fermented Japanese version of the common “soy sauce”. It offers a deeper, richer flavor and is available ‘gluten free’.
Check out my eBook and learn all about using herbs + spices to keep healthy !
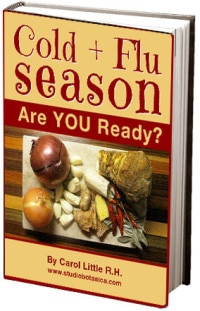
For less than the cost of ONE over-the-counter remedy -- check out PAGES of recipes and DIY tips to help you and your family THRIVE this winter!!
Here's to our health !!! Until next time.. Carol xo


Jennifer Harley
Your post is so amazing.
Honestly, I have a bit herbs in my garden but don't know what should do with them.
Thanks Carol.
Carol Little
That's a great reason to come back and visit us here! Love to teach people WHAT we can do with our herbal allies!!