Whether you are a gardener and have some herbal allies at home in your own garden, or you purchase herbs at a local farmers’ market, when it’s harvest time, it’s a good plan to know how to preserve herbs for winter use. There are several ways to go, so I thought I’d share a few of my favourites. The methods that you may want to use, will depend upon your needs and your lifestyle.
However you enjoy herbs, I hope that you'll find these ideas helpful. I know you are busy-- and I'm hopeful that you will dive in and make some (or all!!) of these preparations to really take advantage of nature's bounty!
- Do you use herbs in your cooking?
- Are you a herbal tea drinker?
- Do you like to make herbal remedies for winter health?
- How do YOU use herbs in your life?
When we are thinking of how to preserve herbs for winter use, the herbs we choose and the methods we use, can give us a wide variety of preserved herbs for our needs.
I make lots of herbal teas, herbal remedies, herbal recipes and use herbs in my kitchen every day! When it’s harvest time, I am one busy gal!
How to Preserve Herbs for Winter:
Drying Herbs:
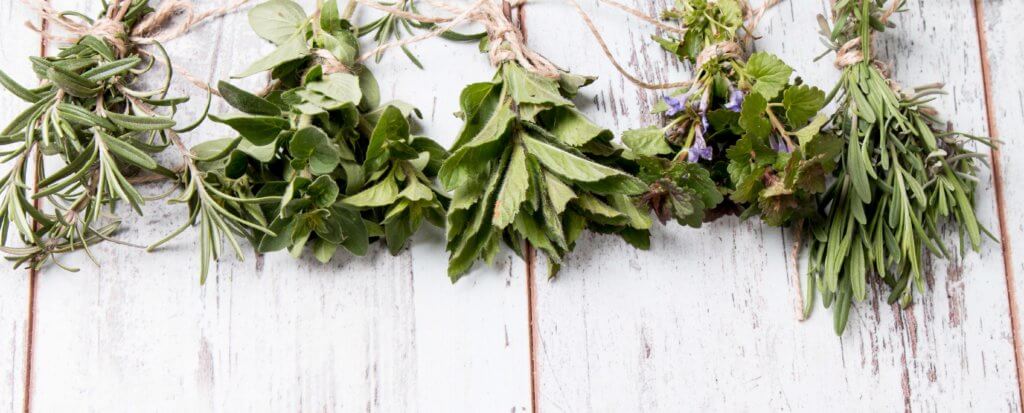
- Air drying ~ This is possibly the easiest method. Cut your herb’s stems and make a little bundle of herbs to hang up. Use fine twine or an elastic band to create the bundle. For best results, the bundle should be quite small, for example, don’t make it more than about one inch around (in circumference) Hang the bundles in a place with some air circulation if possible.
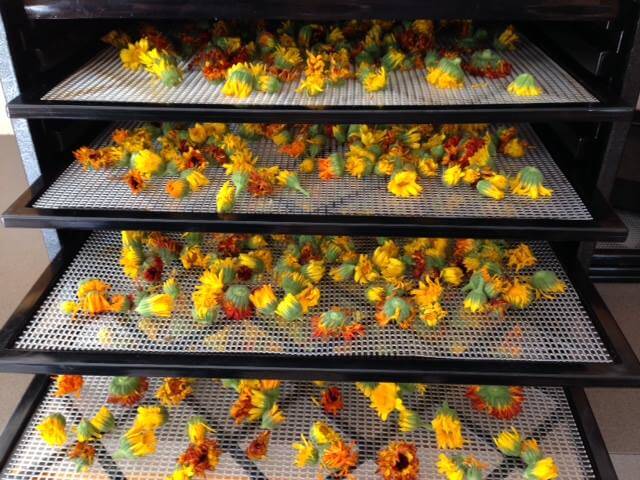
Alternatively, we can 'air dry' herbs by placing them on screens. Take care to place the herbs on the screens so that they are not overlapping. When I had my shoppe "Studio Botanica", I had 7 screens that were built to stack on top of each other and this arrangement allowed me to dry a lot of plant material from the garden at one time. Get creative!
- Dehydrator: I do use my dehydrator often. I have an Excalibur (source) with 9 trays so I can dry quite a lot of herbal material at one time. It does allow me to dry herbs with good control (normally between 95-105 degrees) You’ll want to follow manufacturer’s instructions. Dehydrate until just ‘crispy’ but not longer if possible. There are good brands to choose from I also have the classic round white dehydrator (source) which I used day and night for many years, with much success!
3. Use your car! It's a "solar dehydrator" ! In a pinch, on a warm sunny day, place some herbs in the back window if and leave your car parked in the sun! Just lay your herbs out on a screen
or baking sheet in your car until they get crispy and brittle to the touch. Check after 3-4 hours and monitor.
4. Oven Drying. We can dry herbs in either a gas or electric range’s oven, if we need to. I rarely use this method, as it's difficult to keep the oven regulated at the low temperature that is needed for best results for drying herbs. Assemble the herbs parchment paper on a cookie tray or sheet pan and place in the oven on lowest setting. Sometimes, I will turn oven on to preheat to lowest setting, insert the tray of herbs, close the door and then shut off the heat for a while. This sounds a bit hit n' miss but it can work if you are home and can monitor the herbs closely.
You may ask me.. WHY go through all of this effort to dry herbs at home when we can purchase at the grocery store?
Yes.. you can indeed buy herbs easily at the store, but freshly-preserved, homegrown herbs have so much more flavour — and cost much less!
Sometimes it's best to dry herbs in one of the methods above and other times, we can freeze the herbs in different ways to elevate our winter meals! Here are a few of my 'go to' methods:
Freezing Herbs:
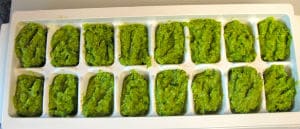
1. Freeze chopped herbs in ice cube trays. Chop herbs, place in ice cube trays, and cover with fresh water or good quality olive oil.
This is easy to do and takes little time and effort. After herbs frozen, remove from the trays into zip lock freezer bags or silicone storage bags.
Remember to label the contents and the date. Frozen herbs do degrade in the freezer so best to use within 4 months.
2. Freeze blended herb in ice cube trays. Toss 1-2 cups ( or handfuls) of herbs into a blender and add some olive oil. Blend well. Pour the blended
herb into ice cube trays and place in the freezer. When ready, pop them out into zip lock bags, label and date.
3. Make individual herb paste recipes and freeze in ice cube trays. Repeat as above. Freeze, pop into bags and label/date.
We can make unlimited pastes or pesto recipes and freeze this way for use in winter casseroles or soups, sauces, vinaigrettes!
3. Make individual herb paste recipes and freeze in ice cube trays. Repeat as above. Freeze, pop into bags and label/date.
We can make unlimited pastes or pesto recipes and freeze this way for use in winter casseroles or soups, sauces, vinaigrettes!
4. Freeze herbs by placing in a glass canning jar, packed tight and topped with olive oil. As long as the oil covers the plant material, this can work. I don't do this
often because I tend to put things away and forget to monitor (confession!)
5. Freeze whole herbs in freezer storage bags. I use dried herbs here. I place the dried herbs into a clean storage bag and use a straw to remove all the air.
Label the herb name, date and any other info. Store in freezer. I tend to put these bags together into a freezer safe container labeled "herbs" so I can find them
later.
How to Preserve Herbs for Winter:
Herbal Vinegars:
They are easy to make and require very little “medicine making knowledge”. Essentially, herbal vinegars involve pairing a vinegar of choice with an herb or a combination of herbs. The possibilities are endless and I never tire of the trying new combinations! We can make 'solo' concoctions (for example.. Rosemary Vinegar) or combinations of herbs infused all together in the
same jar.Herbal Vinegars are definitely a favourite in my home. We can make flavourful aromatic vinegars to create wonderful vinaigrettes, which enliven our salads, cole slaws, soups, stews or sauces! These same delicious combinations are also packed with great health-enhancing bone building nutrients!
Check out this post for an easy template for making your own herbal vinegars. Also I've included a list of my 'go to' herb combinations! You'll want to get busy with all of these. Easy, delicious and they make lovely thoughtful gifts too! Make them in a large glass canning jar, and when they are ready, strain into smaller 'easy to use and pour' vinegar jars with good lids!
1. Make culinary herbal vinegars
2. Make Immune-boosting power packed vinegars to support your family during the winter season (and all year 'round!)
3. Make infused vinegars which can become lovely botanical skin and hair care elements.
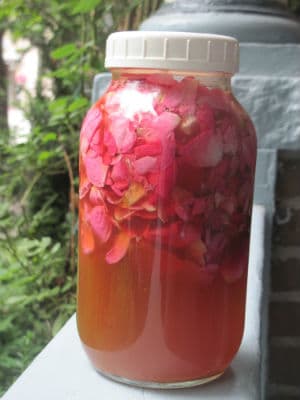
Apple Cider Vinegar infused with fresh rose petals
Herbal Honey:
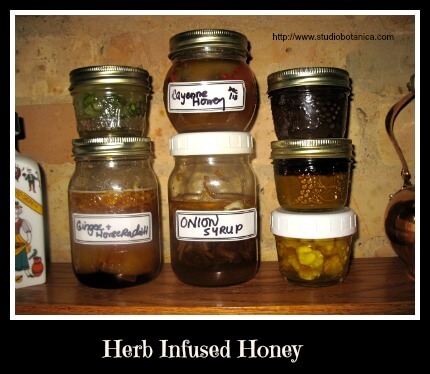
Honey is such a healing food ~ highly anti-bacterial in nature, even alone it is good for us. Infuse it with healing herbs and it’s a great home remedy to have on hand.
We are only limited by our imaginations! Make an aromatic honey to use with your herbal tea and other beverages. Make a 'medicinal' honey with garlic or ginger (or both!)
Make onion-infused honey and you have made a gentle cough syrup. Truly a fun but important part of my 'winter prep; time.. Infusing a variety of herbs in honey!
Stay tuned for my post on how to make Herbal Oxymels -- Delightful and the next level 'herbal honey' preparation! I will add the link here.
MAKE HERB INFUSED HONEY as a way to PRESERVE HERBS FOR WINTER HEALTH
Don't laugh.. It's EASY!!
Fill a clean canning jar with herbs to about ½ the jar.
Add honey to fill the jar.
Cover. Store in a cool place.
I know, I know…that’s not a very precise recipe. This is a guideline.
Here's a link to a recent post with a list of my favourite ideas for making infused honey. I usually make them all. It's a good addiction!
Herb Infused Oils:
We can infuse herbs into oils for all sorts of reasons and limitless preparations. We can create aromatic herb-infused oils for use in the kitchen or as a part of botanical skincare or as a part of
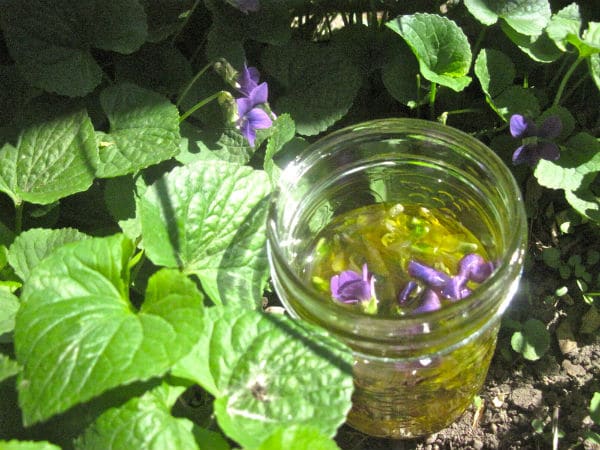
a formula for a soothing salve or delightful skin lotion, cream or serum. Infused oils are easy to make but do require some understanding to ensure a good and safe end product. When preparing the herbs to infuse in oil, either allow them to wilt and release some of their inherent moistness, or dry them completely. This may seem like two opposing ideas. I can only give you some examples. When I am infusing violet leaves to create an infused oil, my plan is to infuse the oil and then strain the plant material in a month and use the oil within 3 months or so. If I want an infused oil to be able to last longer, and if it's a culinary oil, I prefer to completely dry the herbs first, to be certain that all moisture (any water content) has been removed from the plant.
Infused oils for Culinary Use:
I make a number of culinary oils and love to share with friends -- who are always pleased to have another yummy condiment to use in the kitchen!
I want to share one of my favourites, a combination of chilis with garlic + ginger ~ always a hit with those who enjoy a little 'heat'.
Here's the recipe for 'Chili infused olive oil with a twist"
There are different ways to make infused oils. This first method is my preferred way, and requires some planning as it takes at least 4 weeks to make.
Method One:
Harvest and wilt or dry your plant material
Add the herbs to a clean glass jar
Fill the jar ½ – ¾ full
Pour a carrier oil * into the jar and fill to the top of the jar.
Cover with a good lid.
Label + store in a dark cupboard for at least 4 weeks.
Strain afterwards, twice if needed , to ensure that the rose material has been removed.
* I usually use sweet almond oil or olive oil or sunflower oil, although I have also used cold pressed castor oil.
Here's an example of a beautiful rose oil -- made 2 ways -- Check out this link for more info
I normally wilt Violet leaves and/or flowers and Saint John's Wort.
Otherwise, I tend to dry the herbs thoroughly and use this method to infuse oils most of the time.
When time is of the essence and I need to infuse something quickly for a project, this is the other way I do it..
Method Two:
Fill your canning jar with your herb of choice
Unless you are in 'the business of herbs' and need precise measurements, fill the jar to the top with herbs (Rosemary called it "fairy weight"..i.e. Don't tamp the herbs down)
Fill the jar with the carrier oil you have chosen
Use a chopstick or wooden implement (avoid metal) to move the herbs around a bit, to allow air bubbles to float up
Top up the jar so herbs are completely covered if needed.
Add a good fitting lid
Line the bottom of your slow cooker/crock pot with a couple of tea towels (this keeps the jars off the bottom of the pot)
Place your jar(s) in the pot. Check that they feel secure nestled in the tea towel
Fill the crockpot/slow cooker about ¾ full of water
Turn on the machine to a low heat.
This method normally takes about 8 hours on low heat. Don't be tempted to increase the heat as it can ruin your oil.
Turn off the machine after 8 hours. Remove the jars carefully after they have had a chance to cool down.
Strain and re-bottle.Label and date
I have infused many oils this way. Some favourites are Calendula, Comfrey, Plantain and Lavender.
As with anything, 'herbal'.. there are various ways to do each thing.. There is a another method for infusing oils which I have used but do so very rarely as I prefer method 1 and 2.
Method THREE:
Place dried herbs in a slow cooker/crock pot
Add carrier oil
Set the machine on the lowest heat setting
Monitor the herbs
Normally this takes 4-8 hours, depending upon the level of heat, the herb and the amount of oil.
Ideally, the herbs are well covered and not sitting on the bottom of the pot -- We want them to simmer very gently, not burn or not over cook.
They may be lightly 'crispy' but we don't want the oil to become overdone and 'bitter'.
I find better results with the first 2 methods.
Learn how to preserve herbs for winter + enjoy all those aromatic and healing herbs long
after your garden has gone to sleep !!
Have fun ~ Stay tuned for more ideas about how to make the most of the harvest ! Keep Well ~ Carol xo


Leave a Reply